Rejuvenating a classic Massey Ferguson 550 tractor
Posted by Chris Graham on 27th June 2024
After assessing his down-at-heel Massey Ferguson 550, Andrew Hall gets cracking with the work needed to refresh the look of the tractor.
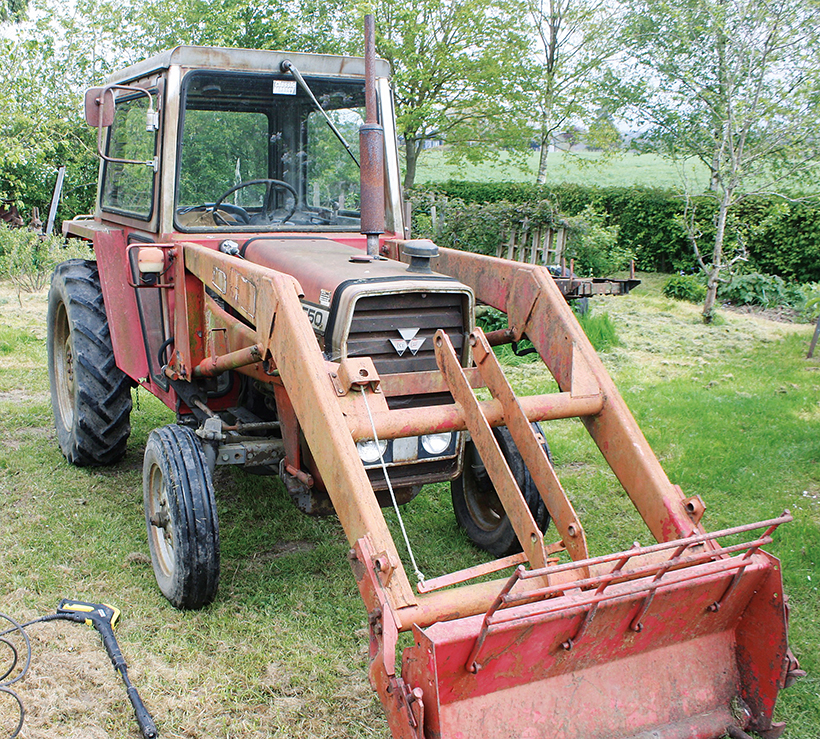
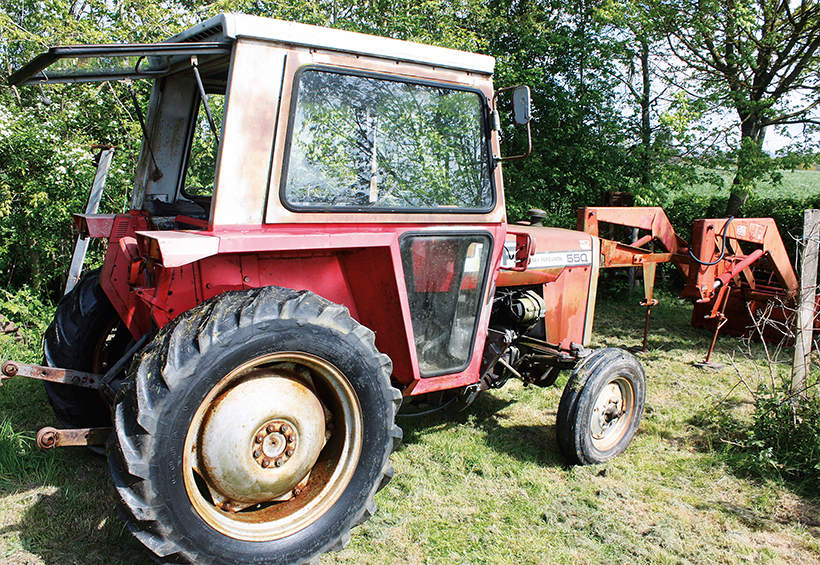
Massey Ferguson 550: Looking a bit sorry for itself and ready for a thorough pressure-wash, I hope to do some preservation work and improve the overall look of this MF 550.
One of my frustrations is not having suitable cover for my tractors and, over the years, the consequences of this have been highlighted with the MF 550, which has been outside for the past 17 years. Despite being the youngest machine in my collection, this one hasn’t always been the ‘go to’ tractor when doing odd jobs, as many of my implements aren’t suitable for it.
As a result it’s gathered a coat of grime and green algae, which has made it look worse than it actually is. It’s fitted with a Massey Ferguson 80 loader that’s very useful for lifting heavy items, but I don’t have much work for it. Just about all it does, in fact, is push the compost heap up now and again!
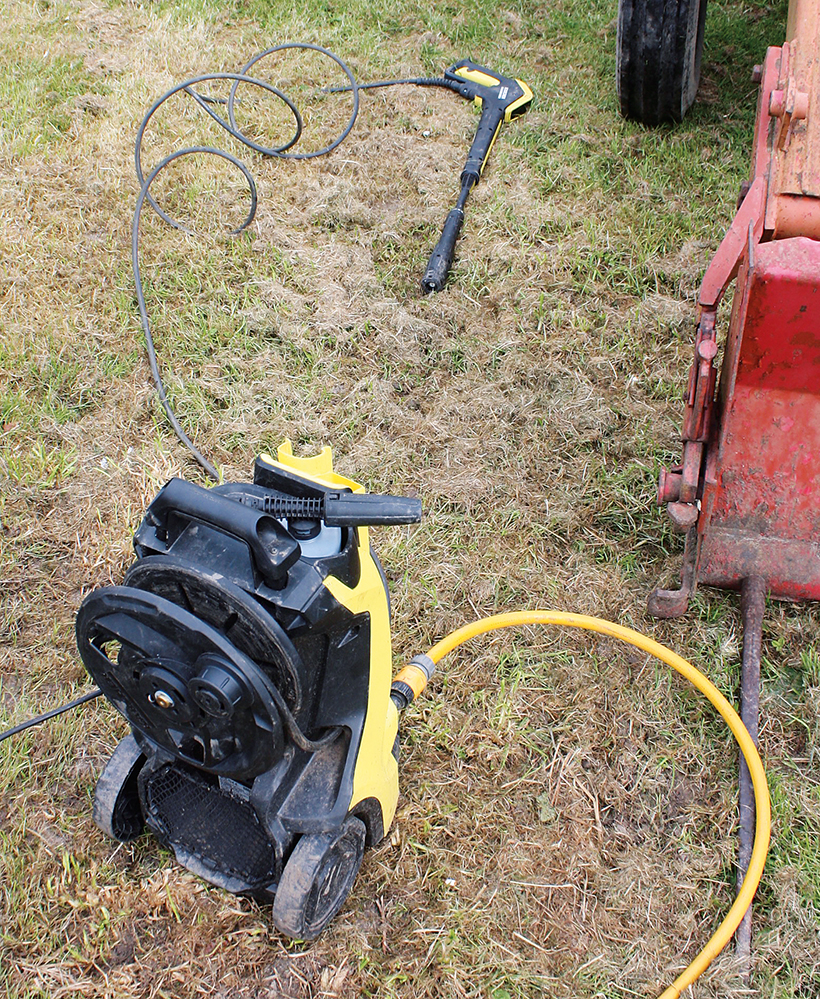
This little Karcher pressure washer has proved to be quite adequate for removing the thickly-layered grime from the tractor.
Pressure wash
Before embarking on the make-over, the first job was to give the whole tractor (including the loader) a thorough clean using the pressure washer. Its thick covering of dark green, almost black grime required a complete soaking before proceeding with the wash.
With most of the tractor washed, the next job was to remove the loader so that I could get to all the bits hidden by its structure.
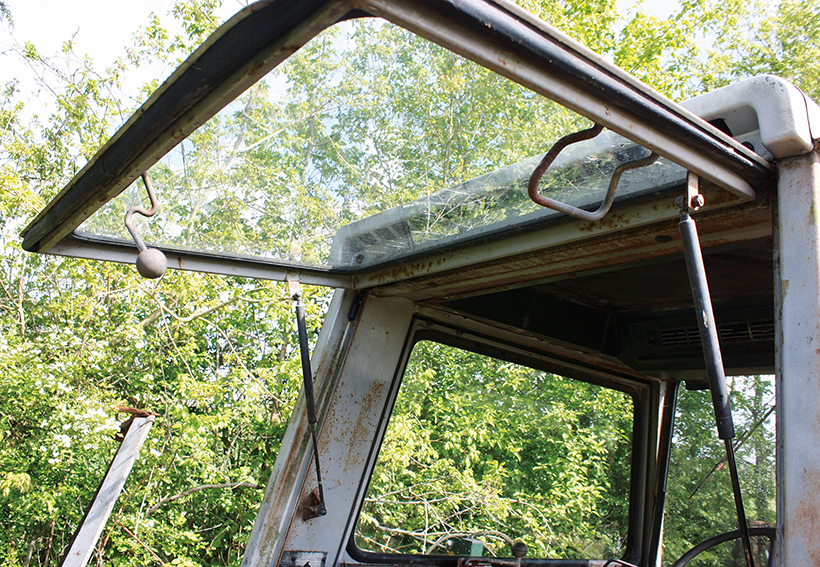
The roof was repainted many years ago, soon after I purchased the tractor. The silver finish had worn thin, and I recoated it to prevent rust taking hold on the panel – a bit of a weak area on 500 series cabs. I began the pressure-wash with the roof and placed an off-cut of trailer flooring across the bonnet, between the loader beams, as a platform to stand on while working. I then worked systematically downwards around the windows and the door, and the tractor began to improve as the grime fell away.
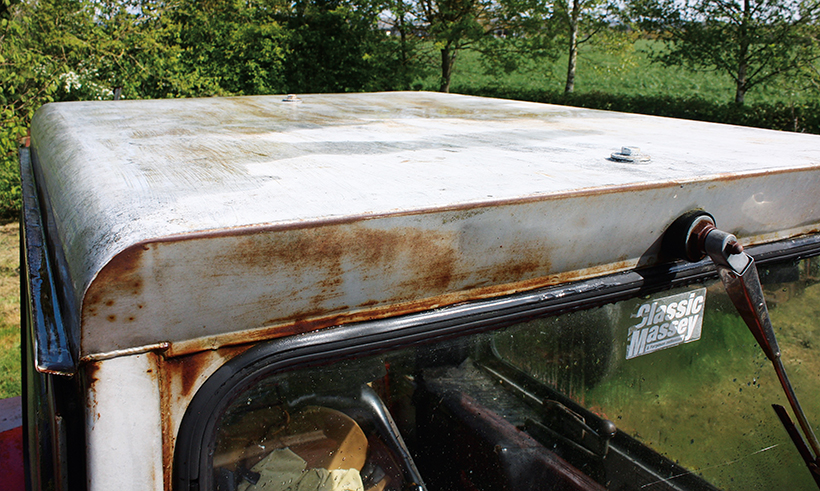
I started the cleaning process with the roof panel, which had been repainted many years ago to prevent it from rotting through (all too common on 500 series tractors).
Water ingress
Inevitably, though, water entered the cab through the poor door seal. The door doesn’t sit flat against the cab opening, and the result was a soaked rubber mat, but this was due to be removed later anyway. The area under the rear wings was next, followed by the back end of the tractor. The loader was also cleaned as much as possible. It’s my intention to re-paint the loader as I’m doing the tractor itself. The whole thing was painted many moons ago by a previous owner, although they used some paint of unknown origin and it’s faded badly.
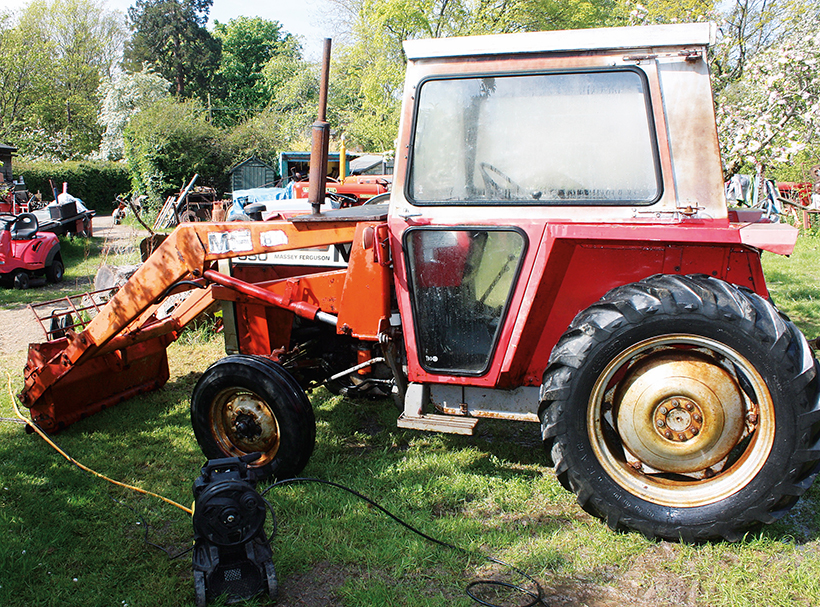
Once removed, the loader was parked out of the way and will receive attention later on. The tractor already looks brighter after its initial wash.
After cleaning as much as possible, the loader had to be removed and parked in a place where it could stay until it’s attended to. With that clear, areas of the tractor that couldn’t previously be reached were revealed, so they could be cleaned properly, too. The paint on the bonnet has worn thin over the years, and I noticed that a small hole has appeared on the front, right-hand side of the panel. The bonnet is going to be removed and stripped of its old decals and what’s left of its paint, before being refinished in Massey Ferguson Super Red.
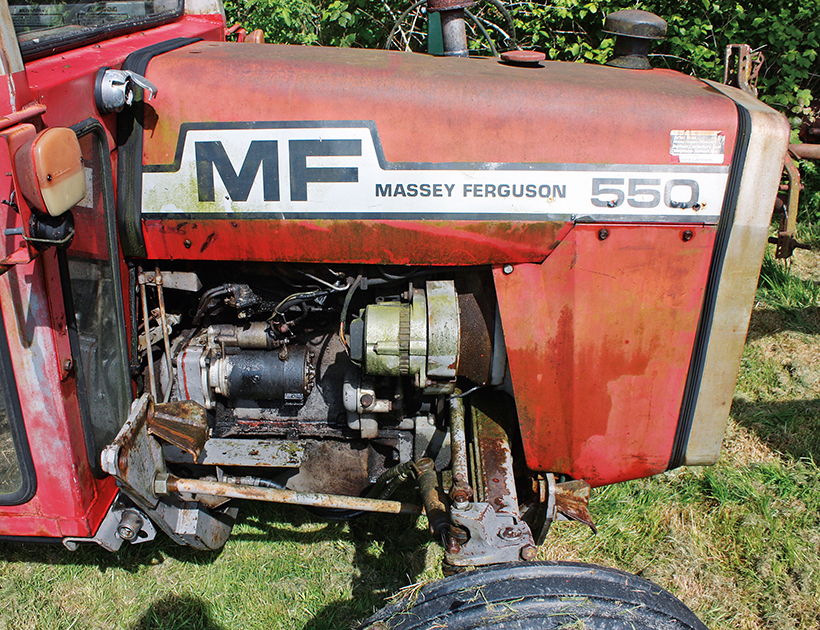
With the loader in place the bonnet sides were inaccessible so once it was off, further cleaning was undertaken, including the engine area.
After washing, the tractor was left in the morning sun to dry which, with a cool breeze, didn’t take long. I left the door open to accelerate the drying inside the cab before clearing it and inspecting the inside further.
These are still working, having been on there for 17 years, so one less item to add to the shopping list!
Hoarded items
One thing that many manufacturers skimp on is the size of toolboxes. This results in items being dumped inside the cab, which isn’t a good thing, as they can become a safety hazard. I’d placed a box of basic tools and useful items beside the seat and, behind the seat, lurked the top link and a nine-hole drawbar, which must have been used for a specific job once upon a time. A useful item that I carry is a PTO tyre pump, which has got me out of trouble many times in the past. However, all of these bits and bobs were removed so that I could tackle the cab’s interior clean effectively.

The washing meant plenty of water had entered the cab through the poorly sealed door rubber. The door was left open to allow the interior to dry in the sun.
Sadly, time has caught up with much of the cab’s interior trim and, now, much of it needs to be replaced. I removed the rubber mat, as it was damp underneath, and it was perished and came away in two pieces, so a replacement has been added to the shopping list!
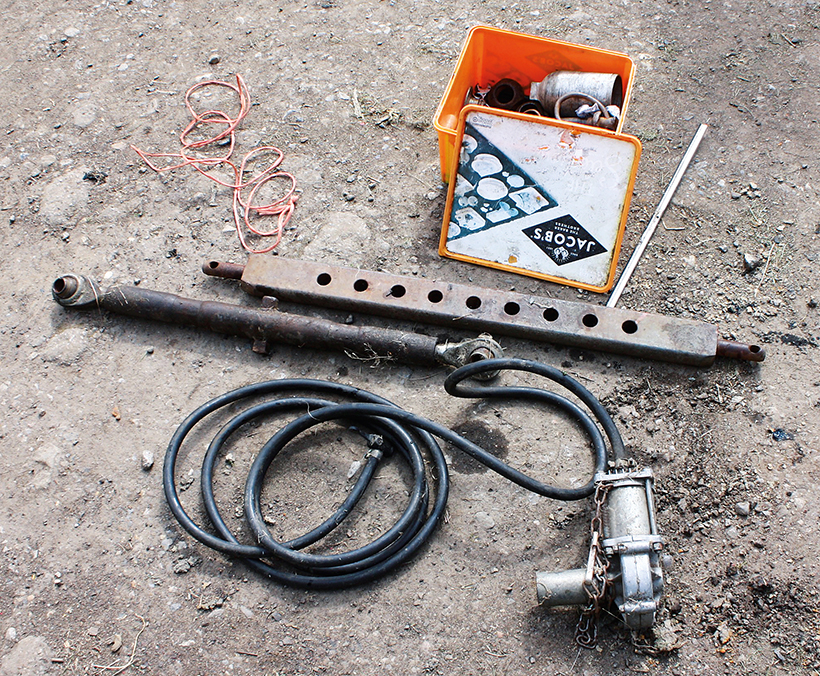
Lack of toolbox space means many items have been hoarded in the cab, which isn’t a good idea as it can be unsafe.
Corroded floor
Of course, I shouldn’t have been surprised to discover that, when the rubber mat was removed, the central panel over the gearbox was corroded due to the damp conditions. I think the cause is partly poor protection when new, as there isn’t any paint left on it at all! Removing this panel is going to be fun, as all the screw heads look badly corroded, too, but time will tell. There’s also more rust than I first thought in the left-hand side of the floor, where the cab frame joins. That’ll need to be cut back to sound metal so that fresh metal can be welded in to make a decent repair. But more of that next time!
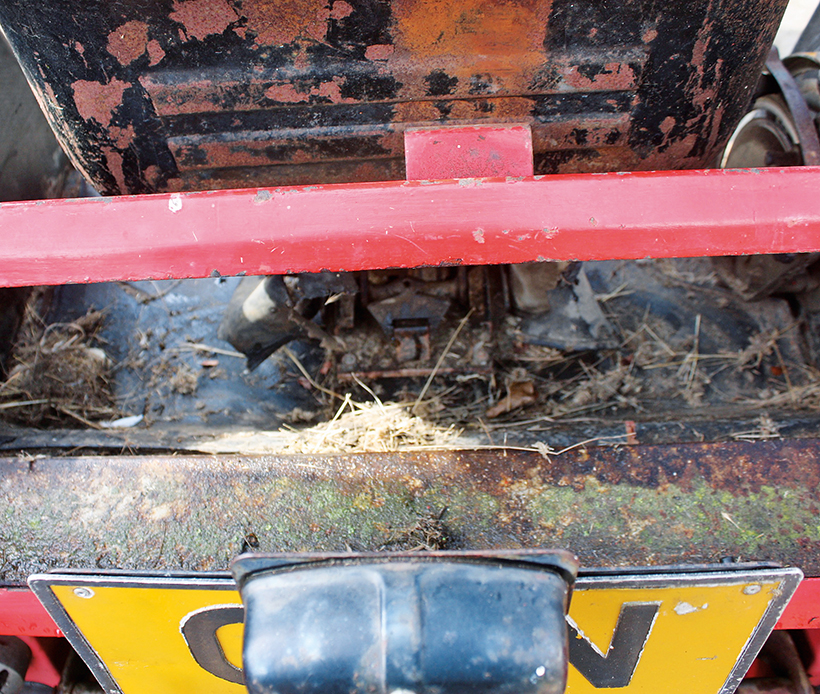
The inside of the cab resembled a haystack under the seat, partly due to the missing lower rear window, which allows grass to blow inside.
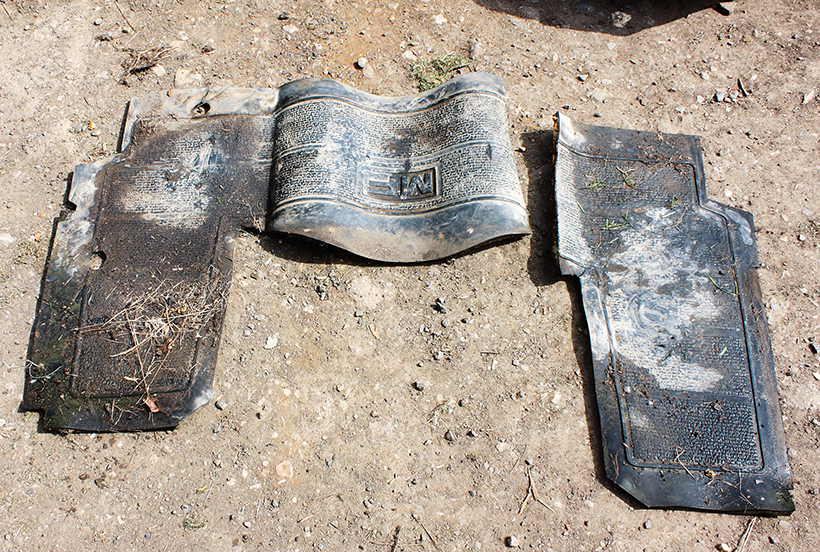
As the perished cab floor mat was removed it fell into two pieces, so a new one will be bought, together with other cab trim items.
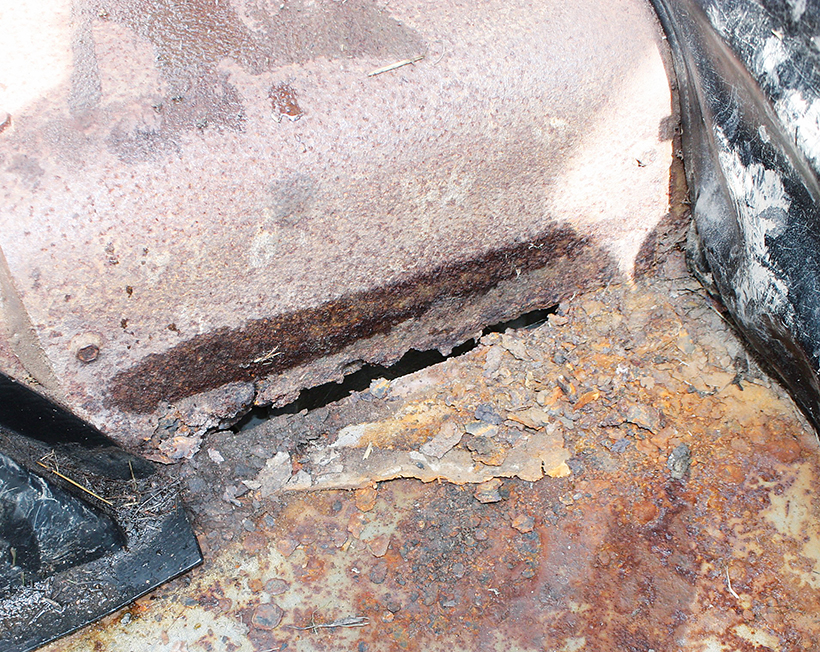
A ‘shock horror’ moment when the cab floor was uncovered, as rust has taken hold on the poorly-protected centre panel. This will have to come out and be repaired.
Rust is also present in the outer edge of the cab floor, where it joins the cab frame. It isn’t too bad and can be easily repaired after cutting back to solid metal.
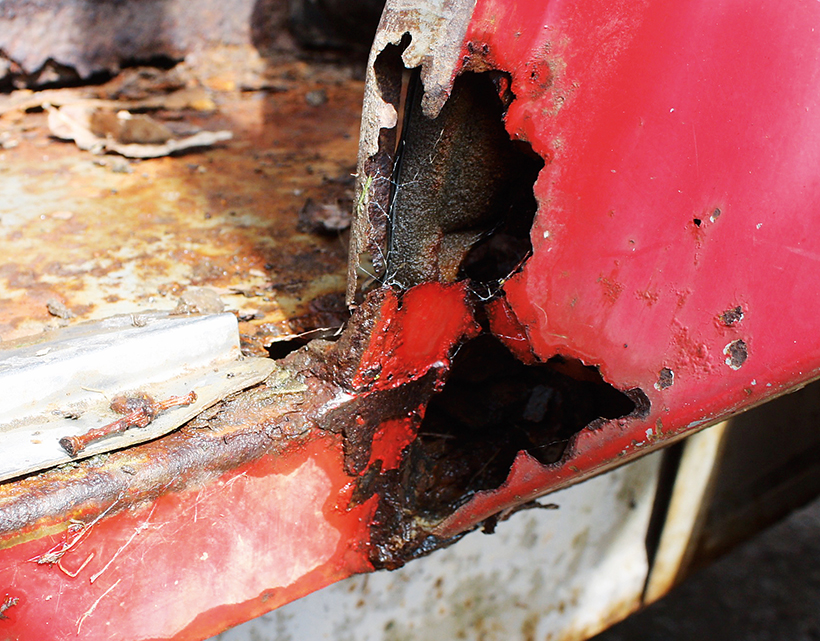
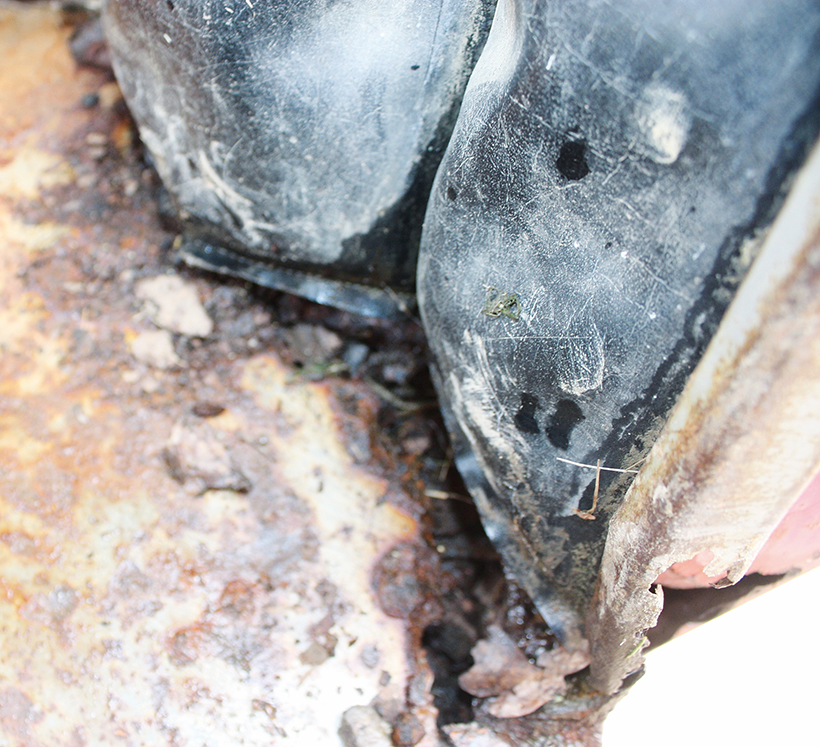
More repairs will be required at the lower corner of the rear wing. These are made up of flat panels, so no complicated curves to deal with while making the repair sections.
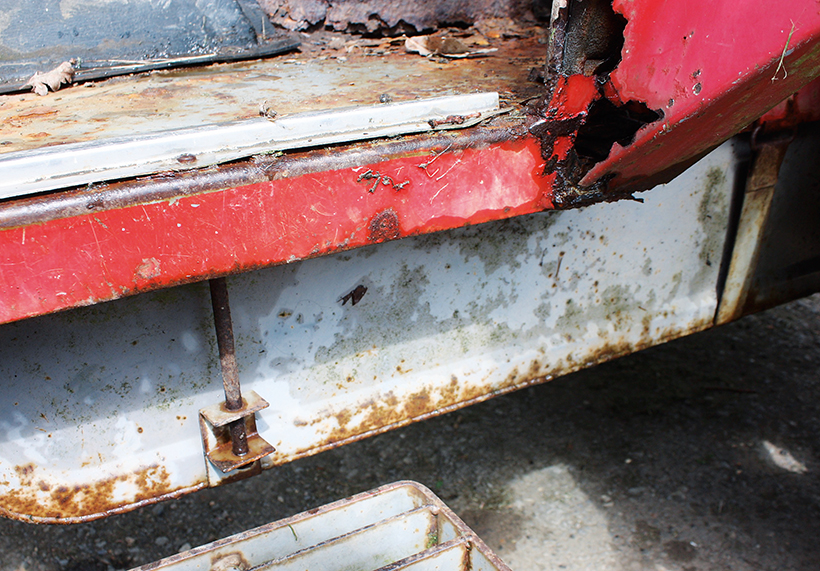
The tank will have to come out while I weld the cab floor, but the gauge sender unit can be checked at the same time.
This feature comes from the latest issue of Tractor & Machinery, and you can get a money-saving subscription to this magazine simply by clicking HERE
Previous Post
Morrison Electricar GM 60cwt Coal Delivery Lorry

Next Post
This year’s brilliant Abbey Hill Steam Rally!