1964 Scammell Highwayman restored over eight years
Posted by Chris Graham on 4th July 2023
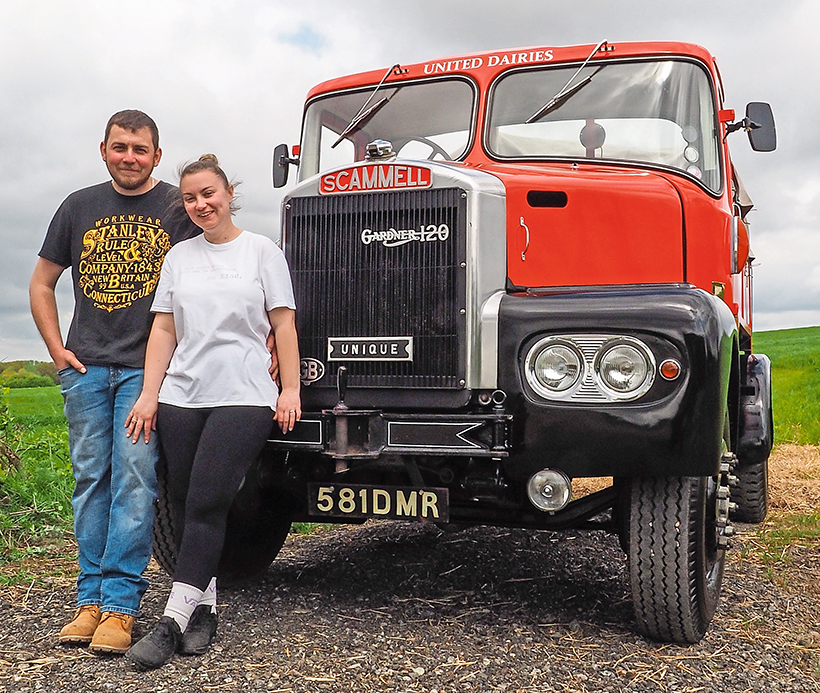
This 1964 Scammell Highwayman was Tony Ready’s first restoration. It took eight years to complete and this is his story of the project.

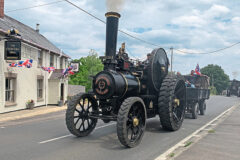
Tony Ready’s 1964 Scammell Highwayman; a superbly-restored vehicle.
Although this was my first restoration, and neither Katherine or I have any family heritage in the haulage industry (I am an Engineer and Toolmaker, Katherine a pharmacy dispenser) my family does have a strong background in preservation. My grandfather Mick Kettle has owned a Burrell traction engine for many years which my brother Jack, sister Sarah and I now maintain. Additionally, my Dad Myke Ready owns a Scammell MU that he restored and is rallied regularly.
It was therefore probably only a matter of time before I followed in the family line and acquired my own vehicle, and that I would choose a Scammell. The vehicle in question is a 1964 Scammell Highwayman with a Gardner 6LW engine.
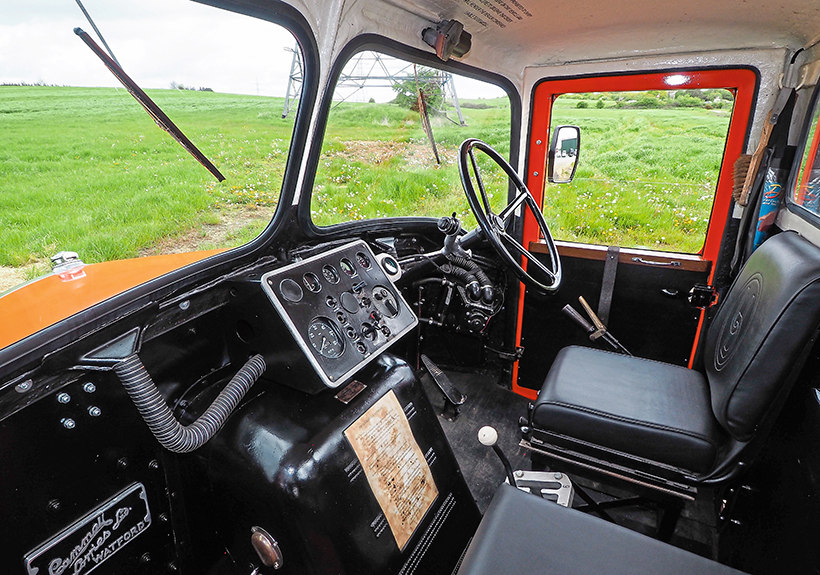
Fully refurbished cab; Scammell cabs of this era weren’t especially known for driver comfort or low noise levels.
In terms of its working life, my lorry was new to United Dairies/Unigate. United Dairies was acquired by Unigate in 1958, but we know that the lorry ran, at least initially, with UD branding, as the remains of their lettering were uncovered during the restoration. It was most likely used, with a tanker trailer, as a reload tanker, for long-distance milk transport.
From Unigate it joined the fair – in this case Coles Fair, a South of England touring fair based near Southampton. With Coles it carried a ballast box and a generator set. After that it moved to Marchwood Motorway., a bus company with bases in Southampton and Haverfordwest, West Wales where it worked as a breakdown recovery vehicle at the latter location. After finally fading out of service during the late 1980s it was parked up outside and allowed to deteriorate. It was then found and rescued by a renowned Scammell collector/enthusiast in Kent, from whom I bought it in 2015, aged just 24.
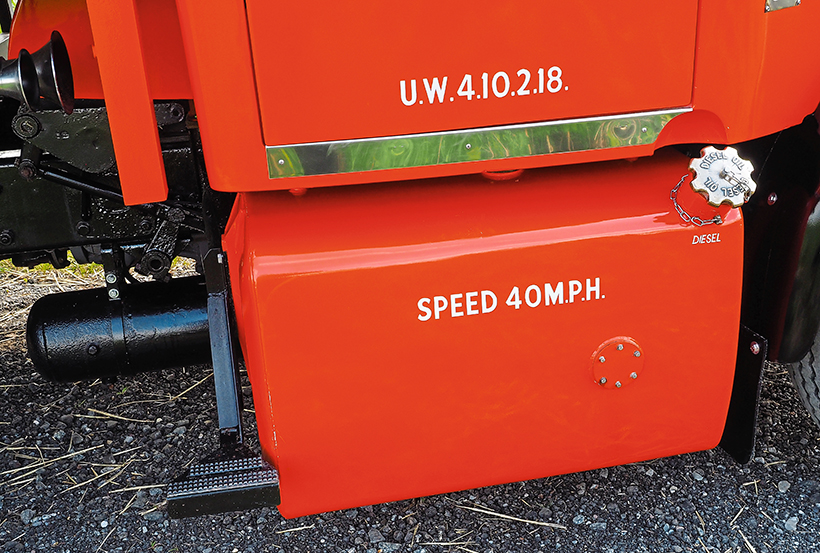
Top of fuel tank was renewed during the restoration.
I knew from the start that restoring the Highwayman to the standard I wanted was going to be a long and far from easy job, but I didn’t really appreciate realised just how big a task lay ahead until, the day after the Highwayman arrived at my Grandfather’s yard in Billericay. I gave the whole lorry a good steam-clean which took off decades of grease, oil, loose rust and flaking paint. I really must have been wearing rose-tinted glasses when I agreed to buy.
The first job was to strip the lorry right down to a bare chassis. Everything came off from the cab and power unit right down to the rear axle, springs, spring hangers and so on.
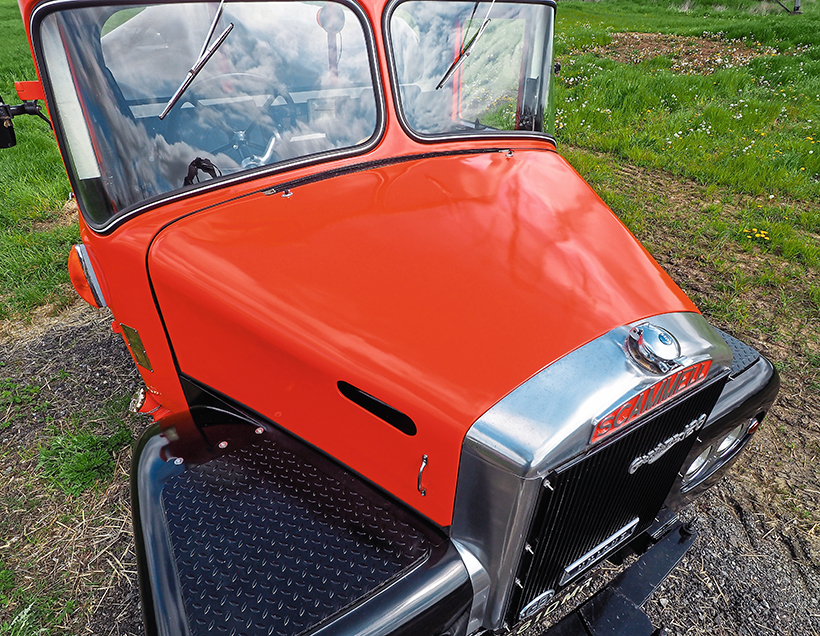
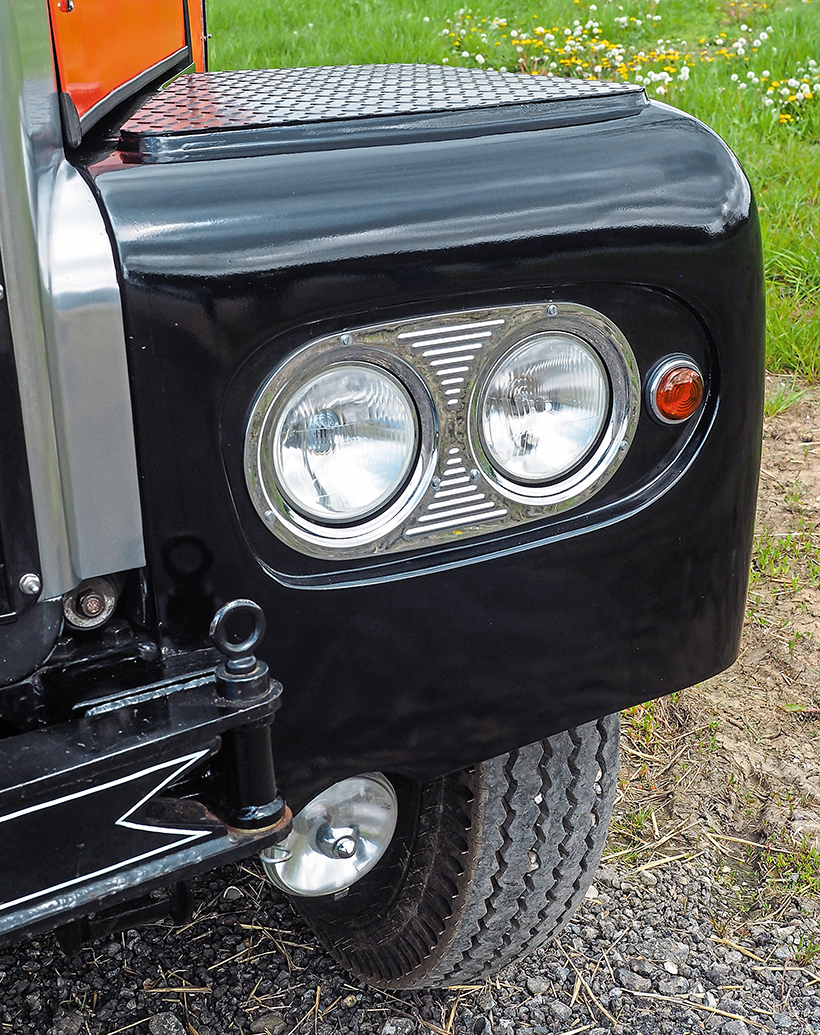
The ‘unique’ one-piece bonnet that gave this Scammell its name.
This was quite a task, and the spring hanger pins were so worn that despite being hardened they had wear steps over 1/8th of an inch deep!
Fortunately, my engineering experience includes lathe work, so was able to make my own replacement pins from steel which I then had hardened, and I turned replacement bushes from the bronze.
As there was significant rust between the spring leaves, I took all the springs apart, which revealed several broken leaves. A coach spring specialist in London made replacements for these, while the rest were thoroughly de-rusted. Before reassembly all the spring leaves were given a good coat zinc paint.
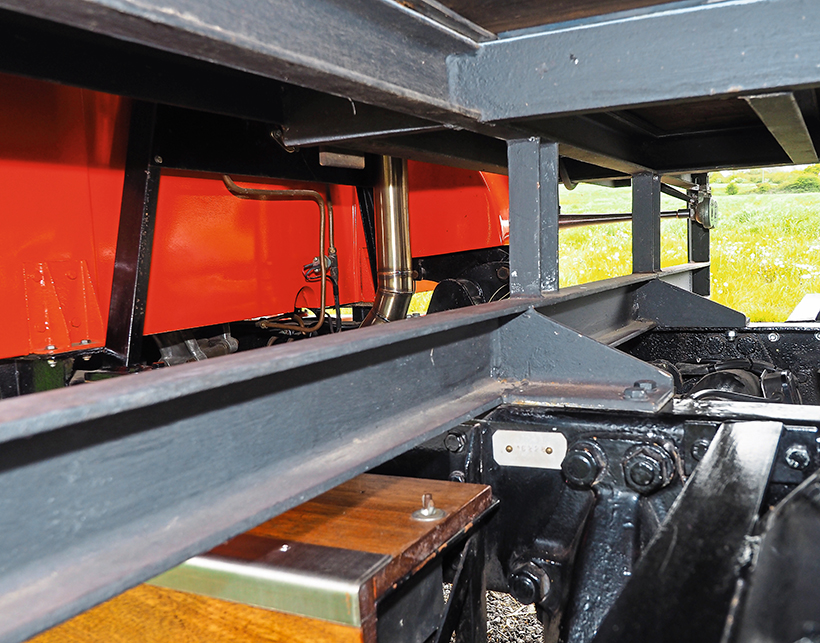
Restored chassis, showing the exceptional attention to detail throughout this restoration.
The rear axle was degreased, primed, and painted and fitted with new oil seals. The brake shoes were shot blasted, painted and relined and I skimmed the rear drums on the lathe taking out just enough material out to clean up the braking surfaces. Several broken wheel studs also had to be renewed.
Next up was the chassis. With everything off it was once again a case of descaling and cleaning it up for primer. All this took several weeks to complete, before the axle was refitted, with great care being taken to align it correctly, and meticulously aligned back to the chassis and front axle.
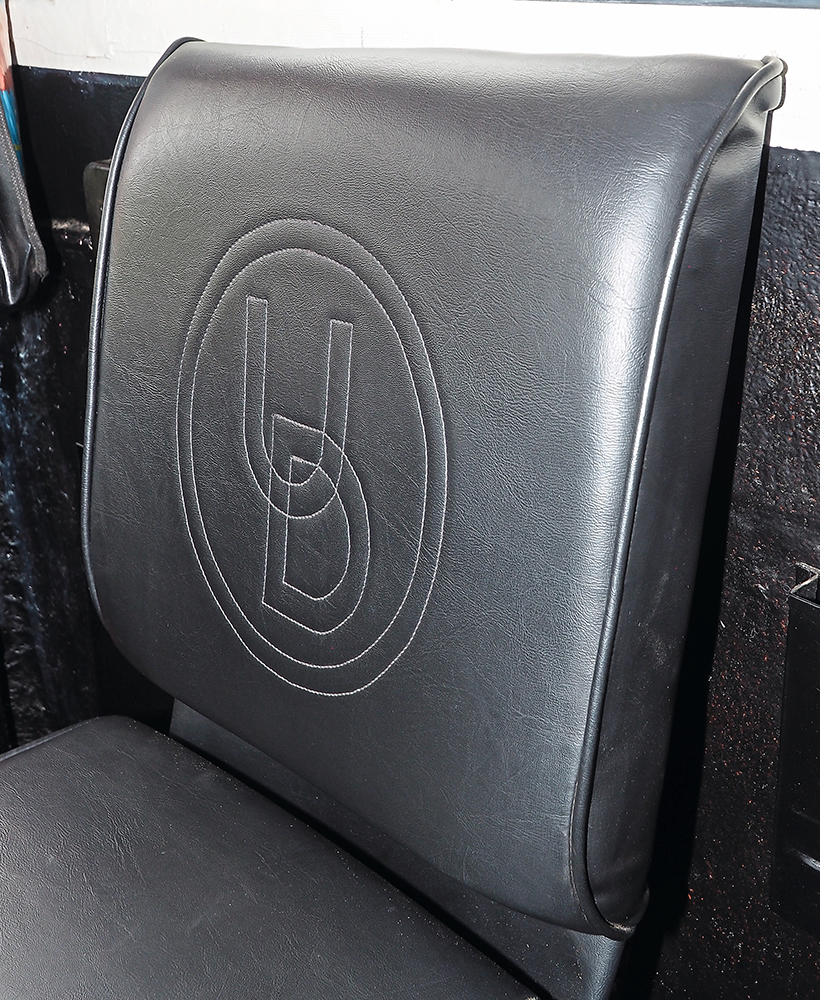
UD – as in United Dairies – stitched into the driver’s seat.
The Gardner engine was dismantled and given a thorough clean-out as the waterways had become blocked with sludge. This involved removing the water pump along with all the external water rails and pipework, and most of the copper pipework ended up being renewed. The main mechanical side of the engine seemed okay, though I did have to look at the injection pump. The clutch, however, needed a new friction and pressure plate which we were able to pick up from the Keeley sale. These were then fitted and adjusted with help from Dinah Forbes who also relined the clutch brake and had a new spring made.
I then made a new pivot shaft and bushes for the clutch release bearing before fully assembling the unit. It was then time for the engine to go back in and be aligned to the gearbox. This, as Scammell owners will know, is a fairly tedious job, but one that it’s absolutely critical to get right.
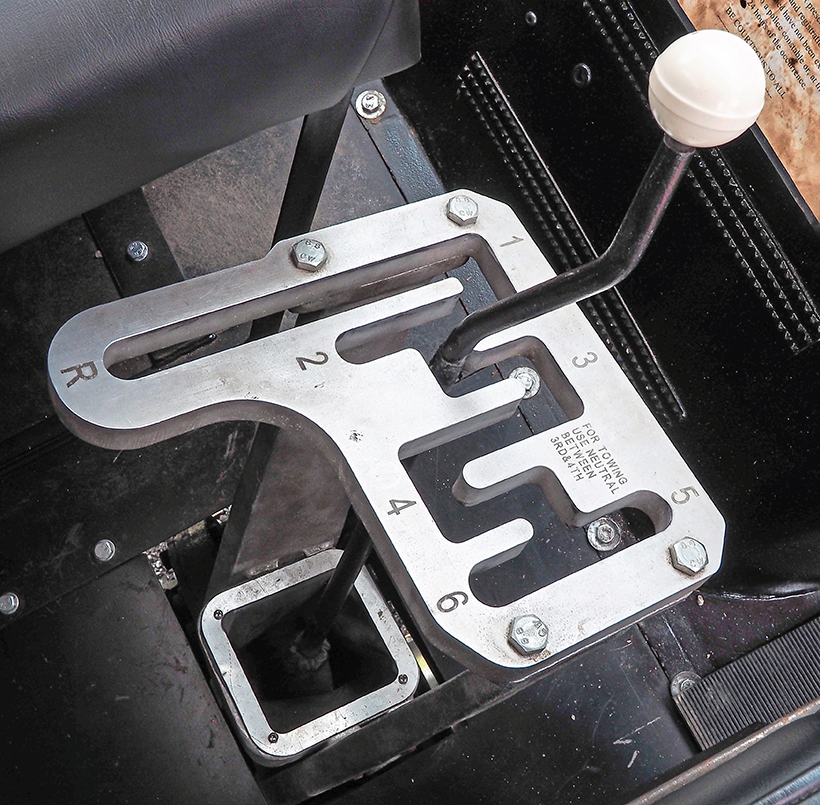
Classic Scammell gear-gate was made from scratch by Tony.
The radiator was in a very poor way with the lower water tank being corroded beyond repair. Fortunately, fellow Scammell owner and friend Matt Hayler had a spare. This had a broken lug, but my brother Jack is a welder-fabricator and had it TIG-welded in no time. I was then able to machine the new lug to exact-right shape using a milling machine, after which the freshly-polished radiator top and sides went on.
Unsurprisingly the rubber radiator bushes where in a bad way. Replacements were not available, so I machined up an alloy mould and cast my own in polyurethane.
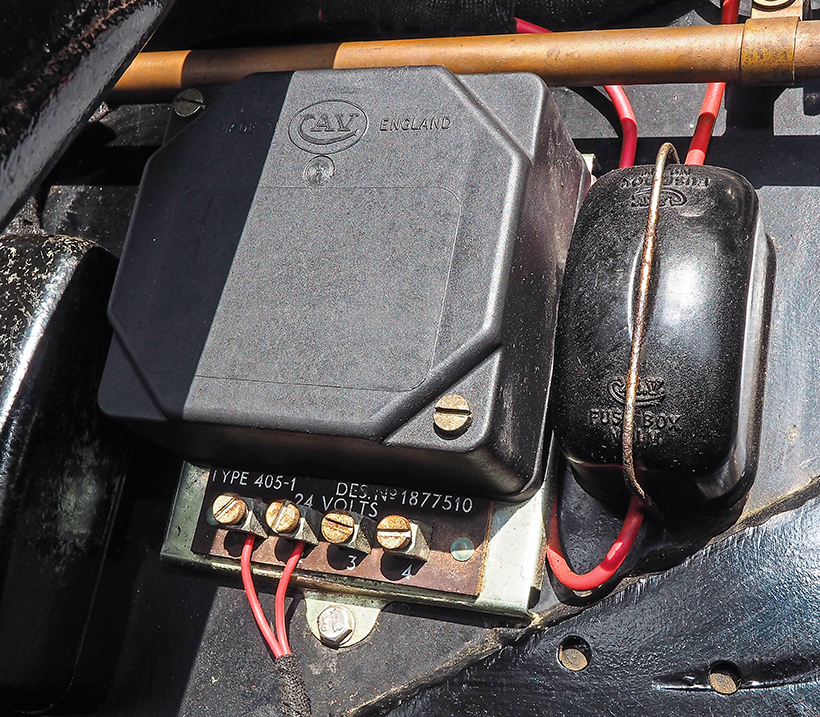
Renewed wiring includes a few subtle safety upgrades.
At this point, 581DMR, as a work in progress, made its first show-appearance. Dad towed it to the Barleylands show on a frame behind his MU, and it received many positive comments. Back at base, work continued with many things being hand crafted from the head light bowls which Jack fabricated from stainless steel to the front and rear hitches. Meanwhile I machined various shafts and bushes. I also made from scratch the gear gate; it was designed using CAD and then water-cut.
The bulkhead was totally beyond repair so I fabricated a new one from sheet steel, while Jack made a new pedal box. The various throttle linkages, brackets and so on were cleaned and primed and then the whole bulkhead assembly was painted in black enamel.
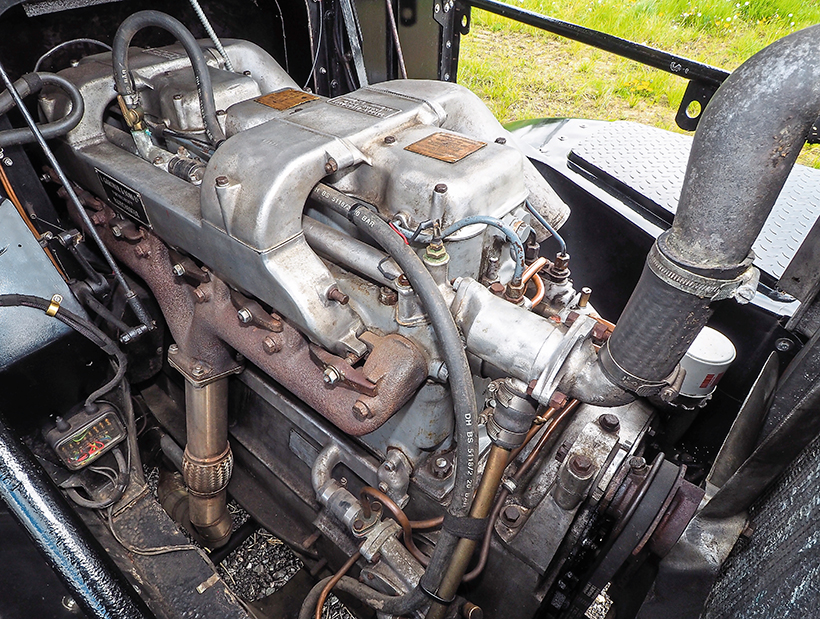
Restored Gardner engine was put together with help from some Scammell friends.
At this point we need to bring into the story my then girlfriend and now wife Katherine. We met in 2009, and she took a huge interest in the project. We agreed that the completed Scammell should be at our wedding in the autumn of 2018. Katherine was also extremely hands-on in the latter stages of the project, in particular with the cab restoration, fireglass work, gel coating, paint preparation and fitting up.
A major setback!
With the date of our wedding approaching, I wanted to be 100% sure that the Scammell would be ready, and perform properly. One weekend, I decided to test the cooling system for leaks and proper circulation. So I filled it with water and ran it up. It all worked fine, but I totally forgot to drain it down again afterwards.
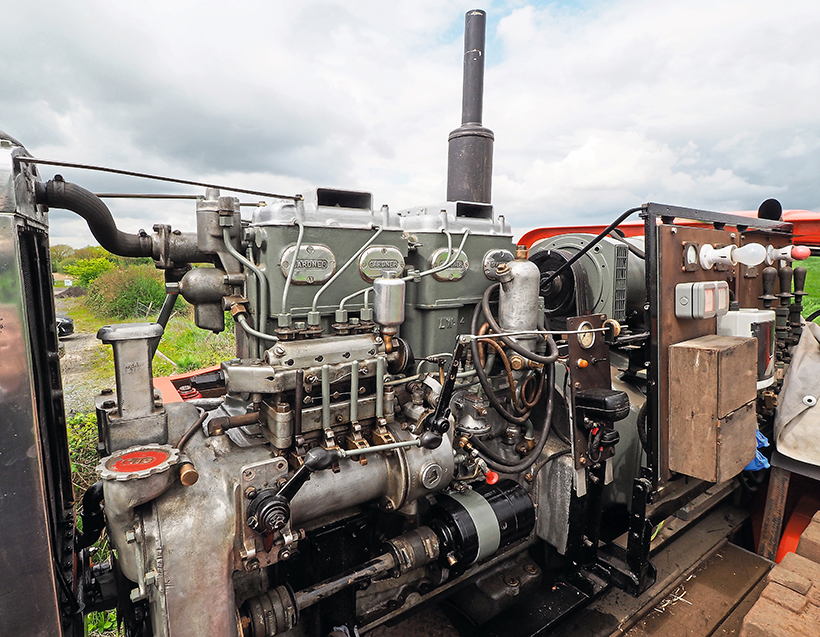
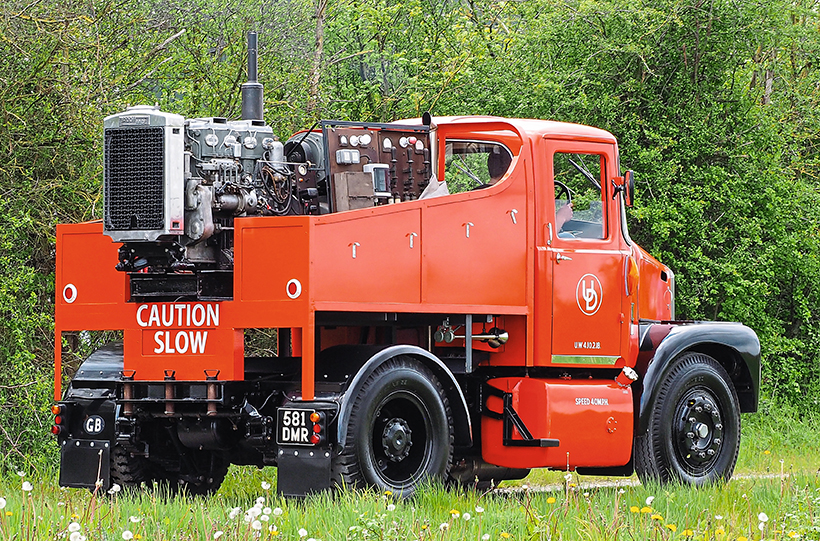
The ex-fairground generator pack on the back has been restored to full working order.
That night, the 2018 “beast from the east” cold snap suddenly arrived, and the water in the engine froze, cracking the cylinder head and block water jackets. Fortunately, the radiator and water pump weren’t harmed, with only months to go till the wedding and a huge list of jobs to complete already, this was a extra work we really didn’t need.
So I put out a desperate plea for help via an online Scammell forum. I was absolutely overwhelmed by the response – almost everyone seemed to be offering help. Neil Young supplied a replacement Gardner bottom-end while Tim Bates offered a set of heads.
What’s more, both gentlemen gave the parts to Katherine and I as early wedding presents.
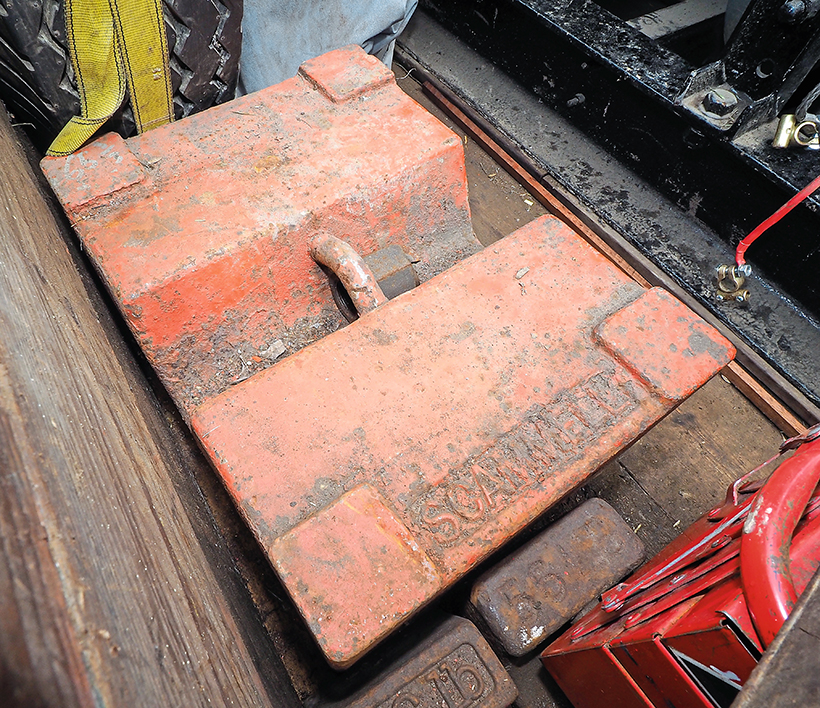
Genuine Scammell weight in the ballast box.
The replacement block and heads were stripped with the bores needing a gentle hone and the head needed the valves and seats re-lapping. The engine was then reassembled with new gaskets and seals, and I had to make some of the Gardner special tools needed.
With that issue resolved, attention turned to the cab. The floor and A pillars were renewed, but fortunately the glassfibre outer panels, though cracked and damaged, were repairable. The glassfibre front wings were badly damaged, but my Dad Myke was able to bring them back to shape.
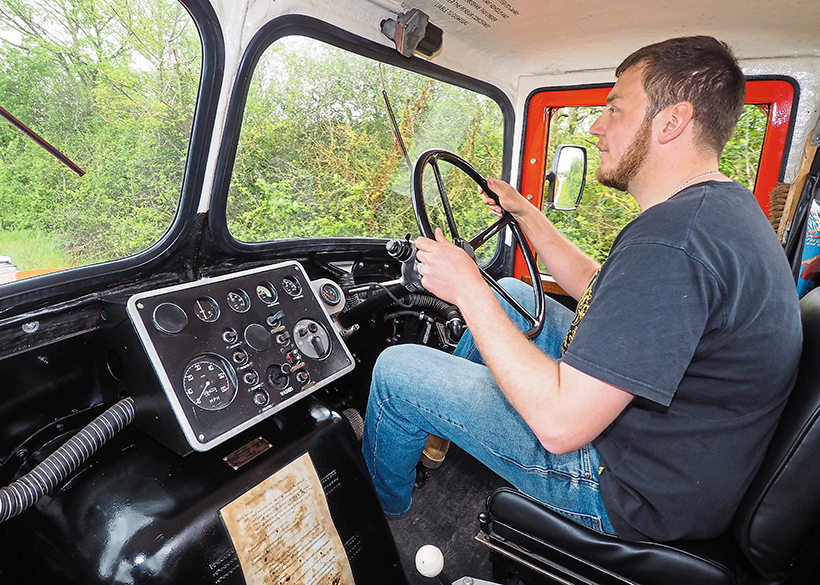
Tony Ready at the wheel
Paint-wise I used a high-build primer, flattened it off and then painted it in the original United Dairies orange livery; here the Scammell Enthusiasts Forum came to my aid again as a member who used to work for Micklover Transport remembered the correct UD paint colour as Azo Orange. Dad did the sign-writing.
By this point Katherine and I were spending pretty much all of every weekend working on the lorry; we would arrive after work on a Friday, and stay in a caravan on site until late on Sunday when we went home to prepare for work on Monday.
Final fit-up
With the cab painted and the wedding getting ever closer it was time to re-join the cab and chassis and start the full refit and assembly. As anyone who has taken on such a job will know, it takes time to realign and refit parts properly that have been renewed or restored. Refitting the curved cab windows was especially tricky.
Katherine’s brother Richard is a marine electrician and made a new wiring loom from scratch; we have retro-fitted relays to take the load from most of the old and mainly original switches for safety and reliability. Richard also fitted a modern flasher unit into the original casing to give us the original look and modern component reliability.
Jack and I also made a new exhaust system to the original pattern.
When it came to the cab interior, the bottom 6ins of the driver’s seat base had to be renewed due to rot. New foam was used, and new upholstery was made by Dad – he even managed to stitch UD (United Dairies) into the seats. Jack made a complete new engine cowl to replace the rotten original.
On the final run-up to the wedding deadline for completion Katherine was spending most nights helping in the garage – and of course there was lots of other stuff to organise. But we made it, and Katherine even made the ribbons and bows to decorate the lorry on the big day. Which was a huge success; after transporting Jack and I to the wedding venue the Highwayman was parked up at the entrance to the venue for all to see.
A bit bouncy…
After this, I started to drive the lorry, but found that with the effectively brand-new springs but without the weight of a semi-trailer on the back axle, it was very bouncy and extremely difficult to control. I don’t have the storage space for a trailer, so decided instead on a solution which reflects the Highwayman’s post Unigate life.
I sourced a ballast box form a fellow Scammell enthusiast which was an exact copy of an original and modified it to fit. Then, to add the necessary weight, I sourced a Gardner 4LW engine and a separate 1938 generator pack comprising a main 200Amp 110V dynamo plus a piggyback 60Amp 240V dynamo. This came from Kent and had been on a fairground Scammell. I have refurbished into full working order and here too the wiring has been discreetly upgraded.
This pack, along with some original Scammell weights that I acquired from an auction, have given the back end enough weight to give a decent ride while on the road. It also adds another working aspect to the lorry, and while I’m aware that the Highwayman overall is, arguably, not original as my Highwayman never had a generator pack while with UD, I feel that its present guise respects its long working history as a whole.
The ballast box/generator addition has also been designed to be fully reversible; it all bolts on to an unmodified chassis and can easily be replaced by a Scammell fifth wheel coupling if wanted.
Since completion, the Highwayman has been to several local shows including Orsett, Battlesbridge, Dengie and various car events. Other outings are planned for later this year, though 6mpg (ie £1 a mile) fuel consumption means that I’m unlikely to be taking it to Scotland or Cornwall anytime soon. I am, though, hoping to take it to Bressingham sometime this year and, hopefully, couple the generator up to their galloper set.

It drives well, though it’s not an easy vehicle to pilot, and the footplate on Grandad’s steam engine is actually quieter than inside the Scammell!
In conclusion, there are a number of people whom I would like to thank publicly for their help. First of course is my wife Katherine for all of her continuous support and hard work with the project. Then my Grandad Mick for allowing me to use his garden and barn for the restoration and his help, my Dad Myke for all his help and advice on the project, my brother Jack ready for his welding and fabrication skills and my brother in-law Richard for his help on the wiring, and everyone who offered help and advice throughout the years the project took to complete I would also like to thank the Lyon’s family for allowing the photo shoot to take place on their land.
This feature comes from the latest issue of Classic & Vintage Commercials, and you can get a money-saving subscription to this magazine simply by clicking HERE

Previous Post
1948 JAP 2A stationary engine carefully restored
Next Post
Fine 1902 Fowler B5 returns home from New Zealand