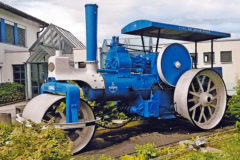
Ruston & Hornsby PT engine rebuild
Posted by Chris Graham on 12th July 2021
David Hughes reports on the successful restoration of his Ruston & Hornsby PT stationary engine; a real labour of love!

Ruston & Hornsby PT engine rebuild: Here we see the engine stripped, prior to repairing the frost damaged water jacket.
I’ve owned engines and subscribed to Stationary Engine magazine now for the past 36 years; I saw this Ruston & Hornsby PT stationary engine on eBay with a ‘buy it now’ price a few months before the first Covid-19 lockdown restrictions were put in place. I offered the asking price which the vendor accepted, and the engine was mine.
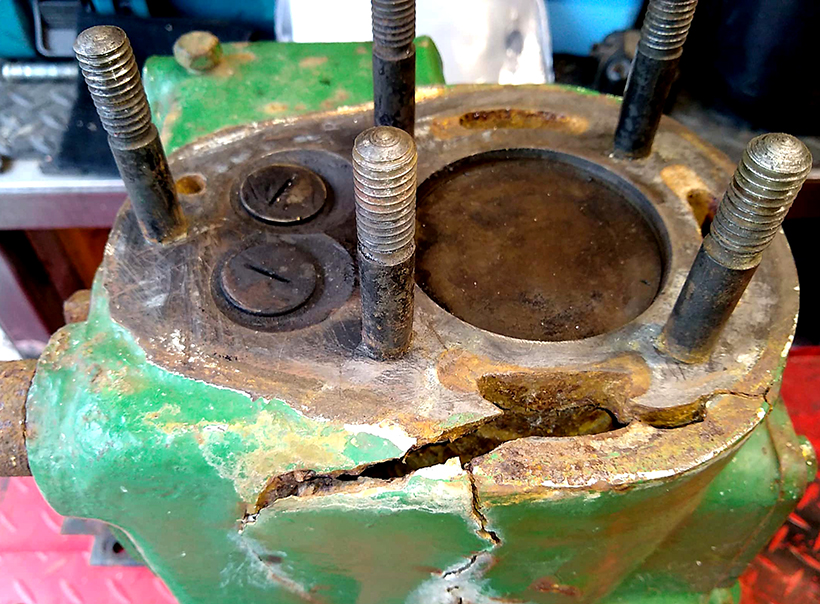
The damage is clear to see!
Once I got it home, exploratory investigations were undertaken to better assess the engine’s overall condition, but it soon became apparent that it had suffered catastrophic frost damage to the cylinder water jacket. I realised that someone had partly stripped the engine for repair, but found that the damage was too great for them to deal with and had given it up as a bad job. Undeterred, though, I continued with the work, and stripped everything down, except for the camshaft which it wasn’t necessary to remove.
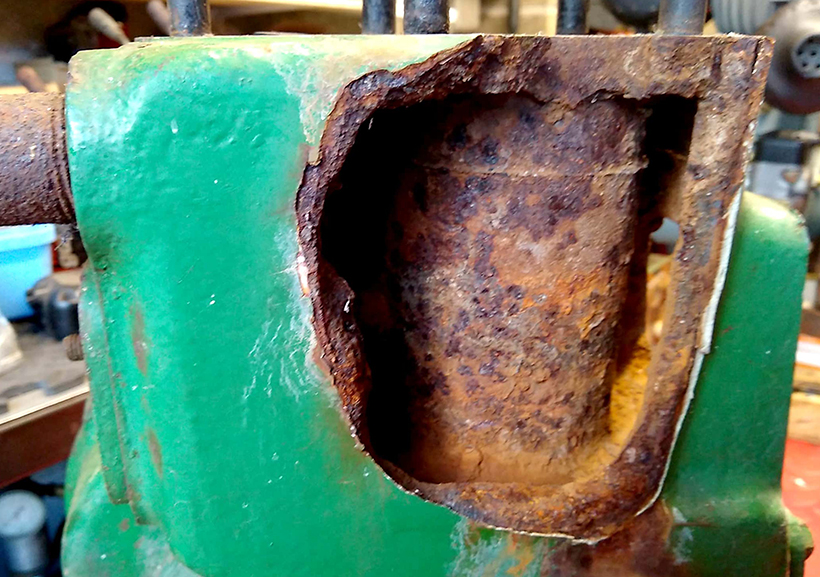
Another view of the damage. It doesn’t get any better, however you look at it!
I took off all the broken/frost damaged pieces, and prepared the jigsaw-like pieces to begin fitting them back together. All of the edges were ground and held in place with two ratchet straps prior to welding into place using high nickel content, cast iron welding rods. The parts were tacked together, tapping and shaping it all the time as the work-piece would constantly move with the heat input.

Others might think the engine was beyond saving, but I was determined that it shouldn’t end up as scrap.
I gently peined the welds with a ball-pein hammer, to knock out the stress in the weld area and avoid the risk of cracking. Once the pieces were tacked into place, I cleaned up the work-piece and began to make the final welds. This wasn’t a job to be rushed so, with great care, I welded short pieces at different ends of the area, peining with the ball-pein hammer after every weld run, successfully welding-up the area without any cracks.
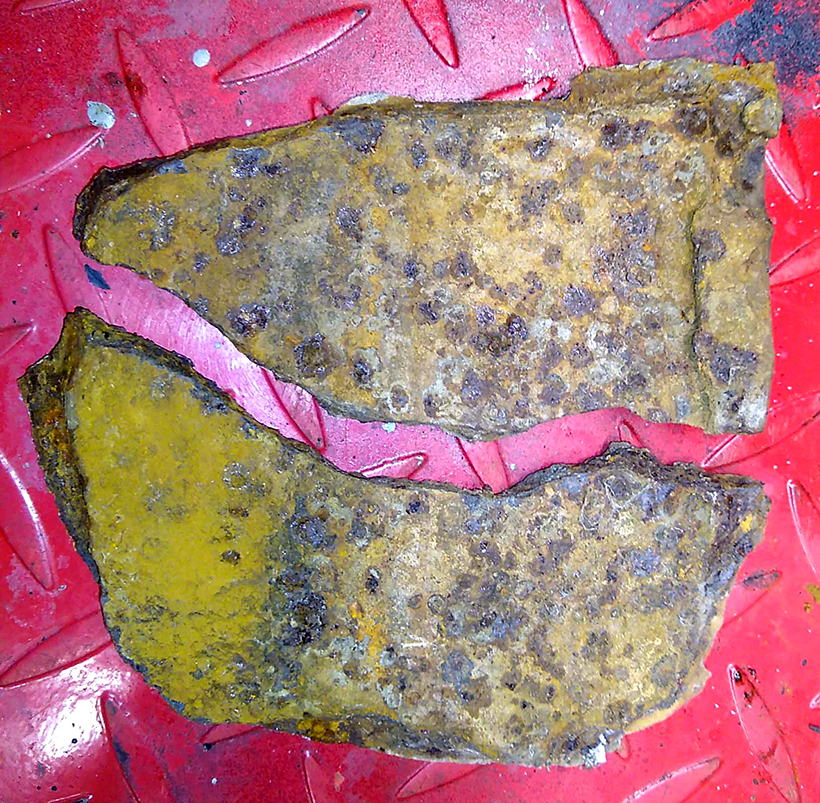
The two main pieces that needed to be welded back into place.
The I ground-off all the excess weld material, and used the gas welding equipment to warm it all up evenly and, with soft brazing rods, filled any small pits and marks, and it capilliaried beautifully. The work-piece was now stress-free and hopefully watertight. I tested it with leak-test dye and, once everything was OK, also ran some warmed-up tank-sealer on the inside to fill the gaps.
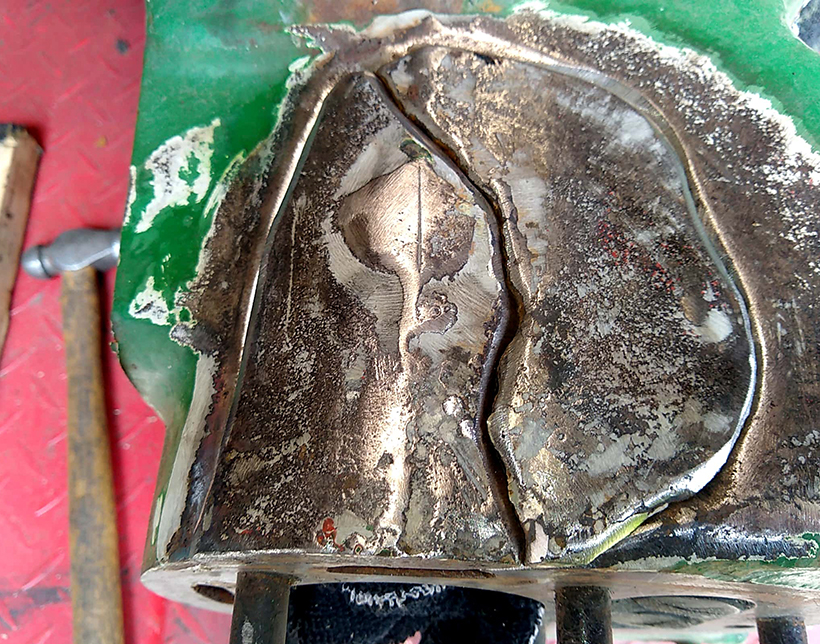
The two pieces cleaned and ready for welding.
Once satisfied that all was well with the water jacket, I set about rebuilding the engine. I noticed that there were no gaskets, just a white paint-like compound where the surfaces were machined, so no gaskets were required. I did, however, apply a smear of blue Hylomar or Castrol thick grease.
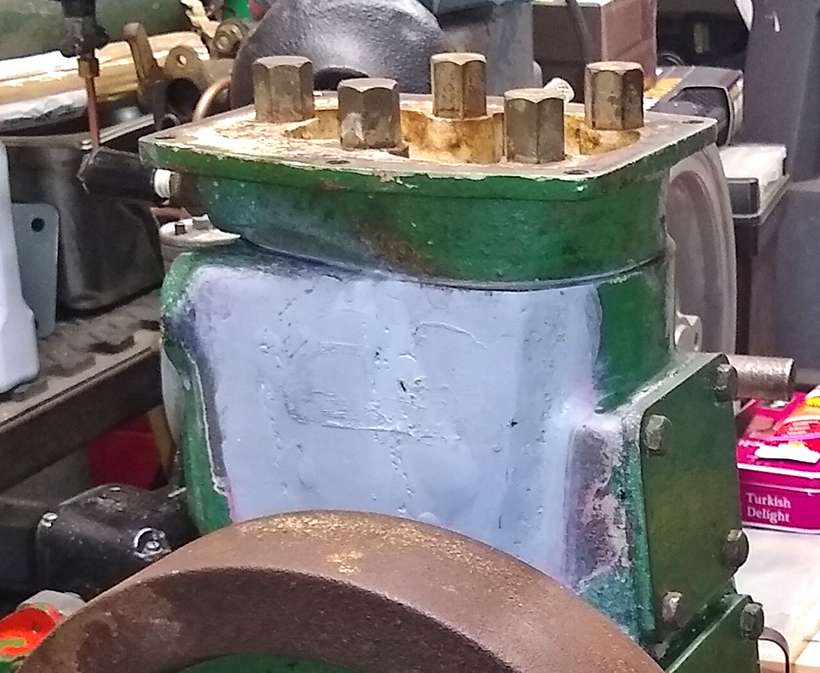
Reassembling the engine begins.
A gasket was made for the carburettor, and another one for the crank journal plate, to give me about 12thou. crank end-float, when cold. The magneto was reconditioned and the ignition timing was set. I set the tappets to 15thou. and the exhaust and inlet to 12 thou. I didn’t know the exact settings but it’s same as a Wolseley, so I went for that.
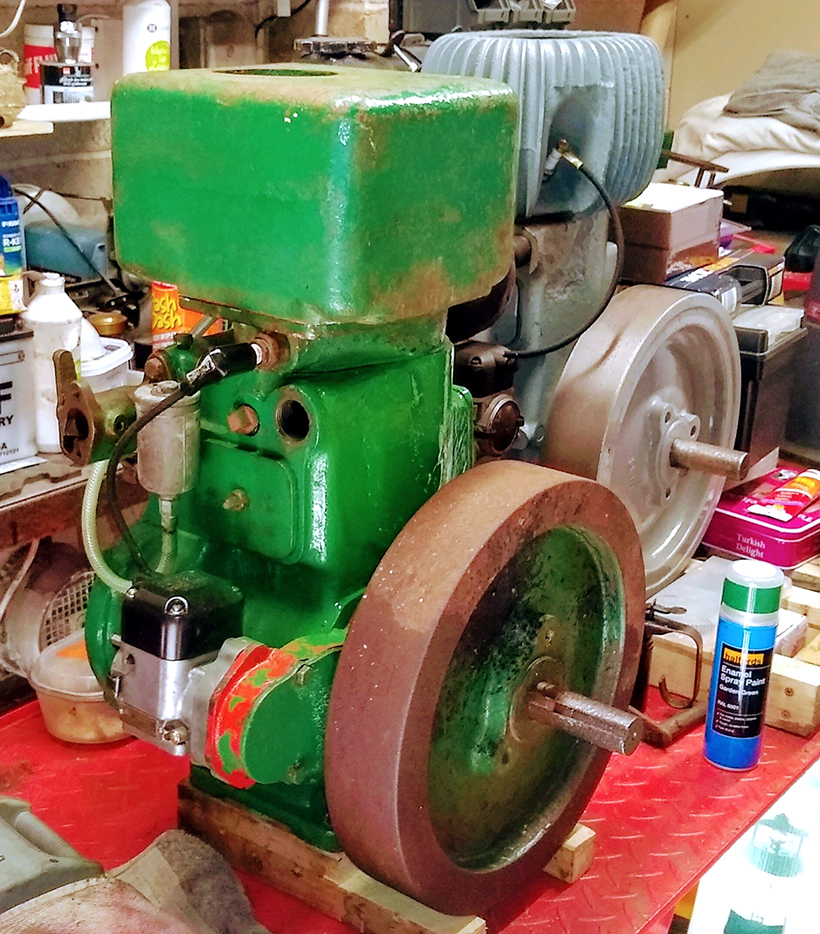
The finished project.
With everything assembled, oil in the sump and petrol in the fuel tank, the engine was cranked over a few turns, after which it fired and ran. Another engine had been saved from the scrap yard!
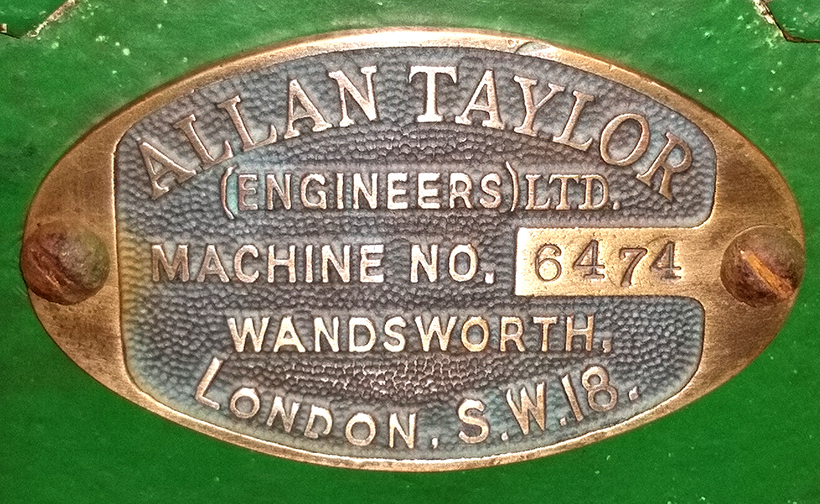
The brass plate on the engine. Can anyone provide information about Allan Taylor (Engineers) Ltd?
One thing that I find a little confusing, however, is that the engine’s ID plate reads ‘Allan Taylor, (Engineers) Ltd, Wandsworth, London SW 18’. One can only wonder if this company bought a few castings, or unfinished engines, and machined them up and sold them as agents…
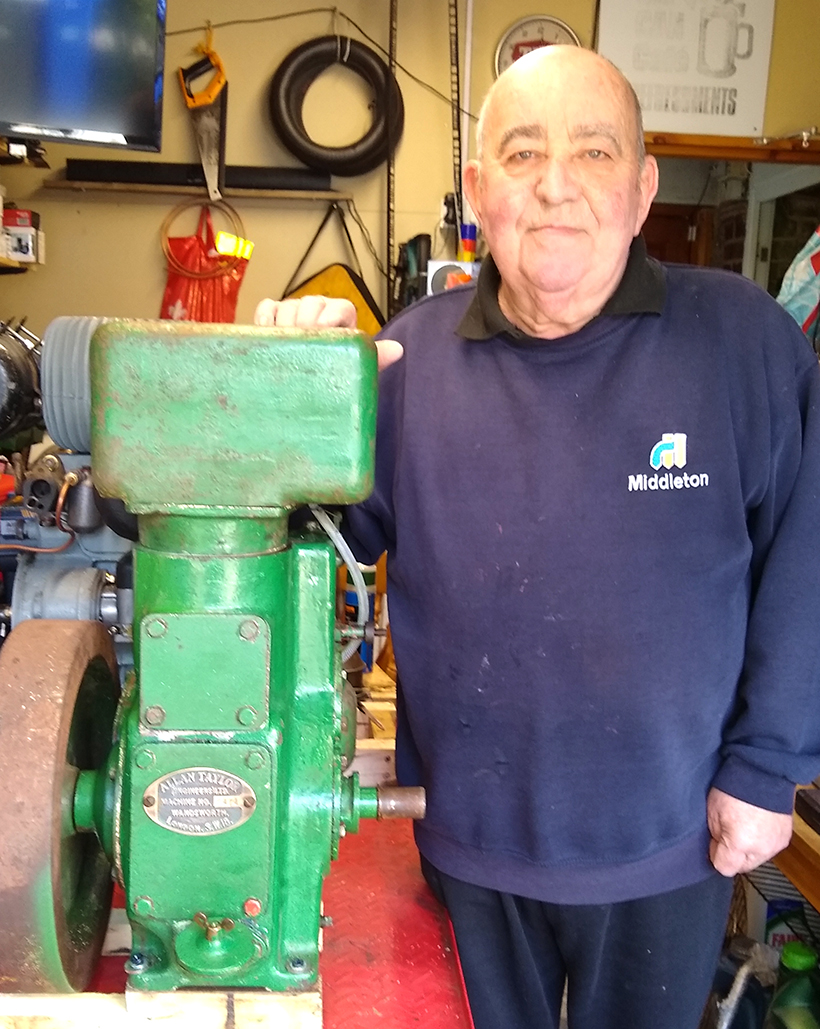
Yours truly with the restored engine!
For a money-saving subscription to Stationary Engine magazine, simply click here


